How to make a candle burn evenly?
Are you tired of your candles burning unevenly, wasting precious wax and fragrance oils? Our guide on How to Make a Candle Burn Evenly is here to save the day. By mastering the art of candle burning, you can transform any room into a captivating sanctuary, with fragrance evenly released throughout.
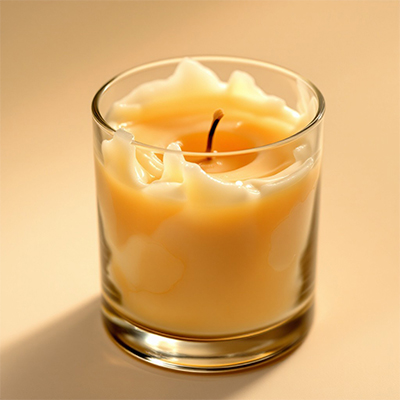
One common issue that hinders a candle's performance is wax tunnelling. Our tips and techniques will help you prevent this problem, ensuring your candle burns uniformly and lasts longer.
Understanding how different waxes behave is crucial in maximizing your candle's potential. With our guide, you'll learn the secrets to achieving optimal performance from your scented companions while conserving resources.
Candle Wax Memory:
Tips to Prevent Candle Tunneling
Adopting proper burning techniques will significantly extend your candle's lifespan while allowing you to enjoy its full aromatic potential. These methods ensure you get the most value from your investment in fragrance delivery and visual presentation. For optimal results, follow these essential steps:
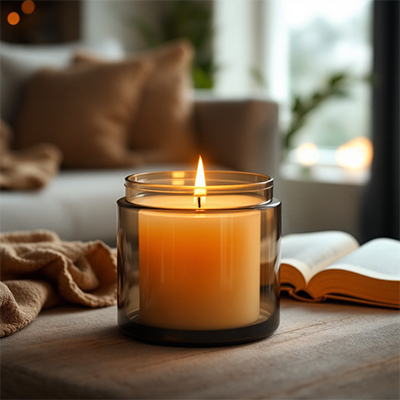
- For the first burn, allow the wax to melt completely to the container's rim—generally one hour for each inch of width. This process might take 2 to 4 hours, depending on the dimensions of your candle. This initial burn is crucial as it sets the "memory ring" that determines how your candle will burn in future uses.
- Keep the wick trimmed to 1/4 inch before each use to prevent smoking and uneven burning.
- Ensure complete wax melting across the surface during each burn session to prevent tunnelling.
- Choose multi-wick candles for larger diameter containers to promote even melting.
- Keep away from air currents like fans, open windows, or vents that can cause uneven burning.
- Avoid blowing out the flames, as this can cause smoking and uneven cooling. Use a snuffer or wick dipper instead.
Popular Double-Wick Candles


How to fix a tunnelled candle:
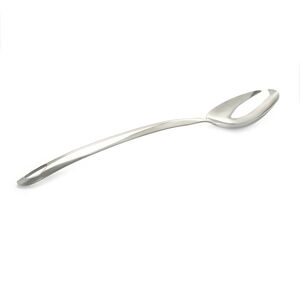
You'll need: A knife or metal spoon, sharp scissors, a standard hairdryer with adjustable heat settings, heavy-duty aluminium foil, and a reliable lighter.
Step 1: Level the candle wax surface. Using gentle, controlled motions, carefully scrape away any excess wax from the edges and top of the candle with a knife or spoon. Work slowly to create a flat surface without damaging the container.
Step 2: Expose or replace the wick. If the wick is buried under wax, carefully dig it out. For wicks that are too short or damaged, replace with a new appropriately-sized cotton wick.
Step 3: Melt and level the wax with a hair dryer. Set the dryer to medium heat and hold it 6-8 inches away. Move in circular motions to melt the top layer uniformly until smooth.
Step 4: Use aluminium foil to concentrate the heat. Create a snug foil collar around the candle's rim, leaving about an inch of space around the wick for proper ventilation.
Step 5: Allow the wax to set. Let the melted wax cool completely at room temperature until fully hardened, approximately 1-2 hours.
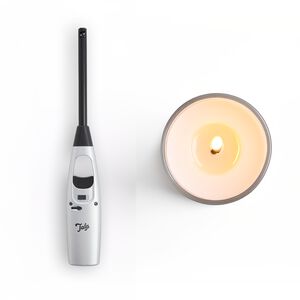
Step 6: Trim and relight your candle. Using sharp scissors or a wick trimmer, cut the wick to exactly 1/4 inch length and relight to enjoy your restored candle.